
Simple workflow
Open .T3G structures, inspect them in 3D and export the result without a complicated setup.
Visualize, transform and prepare triply periodic surfaces for analysis and 3D printing - in one focused desktop application.

What it does
Porous 3D turns structures generated by ToposPro into editable models ready for further research or fabrication.
Open .T3G structures, inspect them in 3D and export the result without a complicated setup.

Start with more than 100 curated porous surfaces available in the project database.

Translate, smooth and solidify surfaces before exporting a printable STL model.
System requirements


Product guide
The demo supports visualization, translation, smoothing, thickening and export of TPS models.
 and select a .T3G file.
 to duplicate the selected surface or
  to remove it.
 to open surface properties and
  to hide them.
 .
. and enter the required translation parameters.
 to apply the translation or
  to discard it.
 and choose the smoothing parameters. to keep the result or to return to the previous model.
 and specify the thickness value. to apply thickness or to abort.
 to open the export dialog.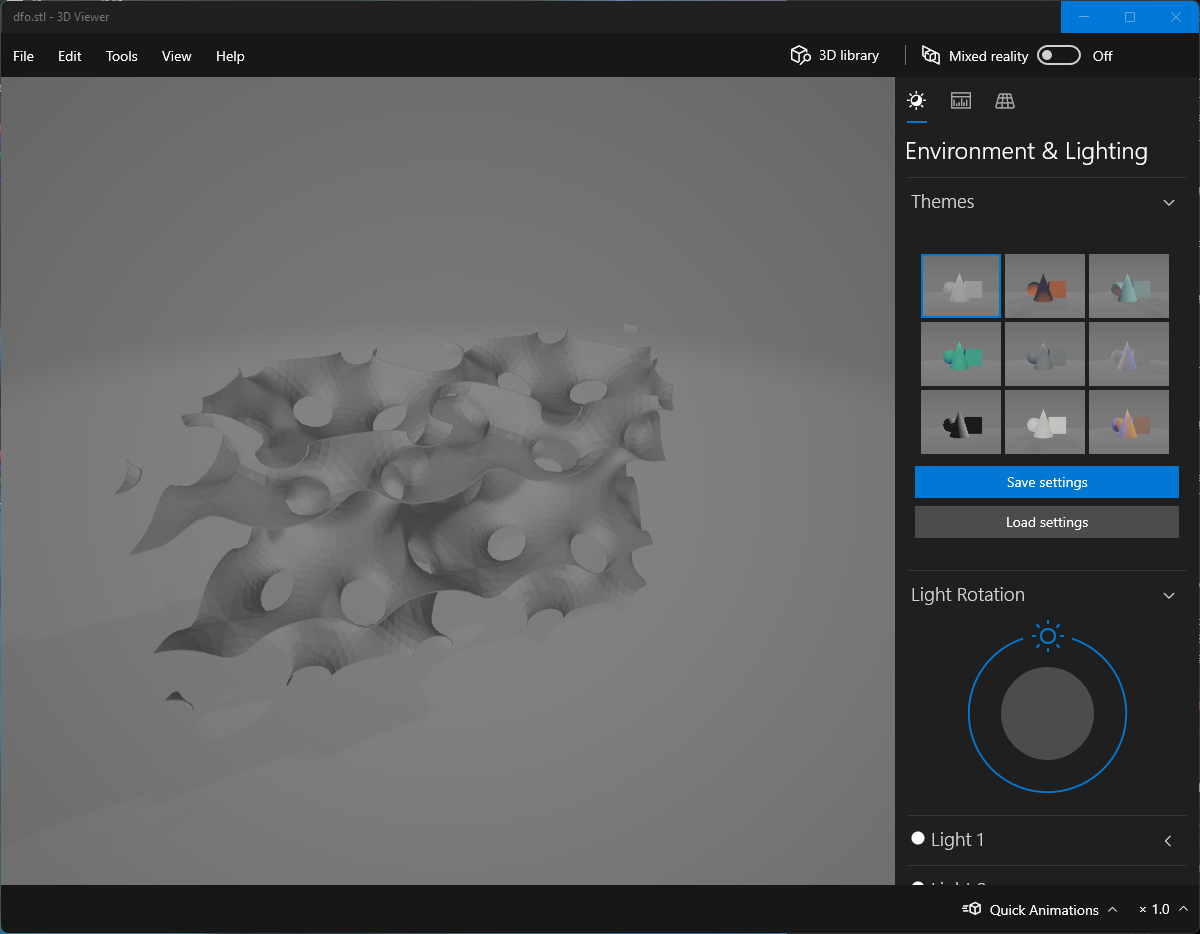
Try Porous 3D
Download version 1.1.0 for Windows (82.8 MB) and start with a model from our database.